Winter 2012 at TU Graz - The Setup
Posted on Sat 19 January 2013 • Tagged with university
Since this term at university is nearly over - well, except for the exams - I wanted to elaborate a bit on the setup and the applications I used on my Macbook in order to accomplish the tasks given.
Before delving deeper into this subjects I have to spell out something since you might miss it otherwise: It is probably not possible to do everything using only OS X given the requirements of certain courses. I had to use a Linux VM about which I’ll talk a bit later in this post.
Course: New Information Systems1
Requirements:
- php enabled web-server
- mySQL database
OS X has an Apache server built-in which only needs to be enabled prior to use.
However since Web Sharing - which is the Apple term
for the Apache server - no
longer ships an entry in the Sharing Preferences in 10.8 Mountain Lion it is
necessary to either use some Terminal commands or install
this handy .prefpane courtesy of Tyler Hall which brings back the
ability to en-/disable the server via a GUI. I also suggest checking out
this tutorial on how to prepare your Mac for web development since it
also contains instructions to enable the builtin PHP of OS X.
The mySQL database installation can be obtained from their site and
installation is straightforward. They also provide a .prefpane item which
can start and stop the server.
In theory. That prefpane didn’t work well on my
machine. It might also be worth looking into streamlining the mySQL update
process by installing via
homebrew, my package manager of choice for OS X.
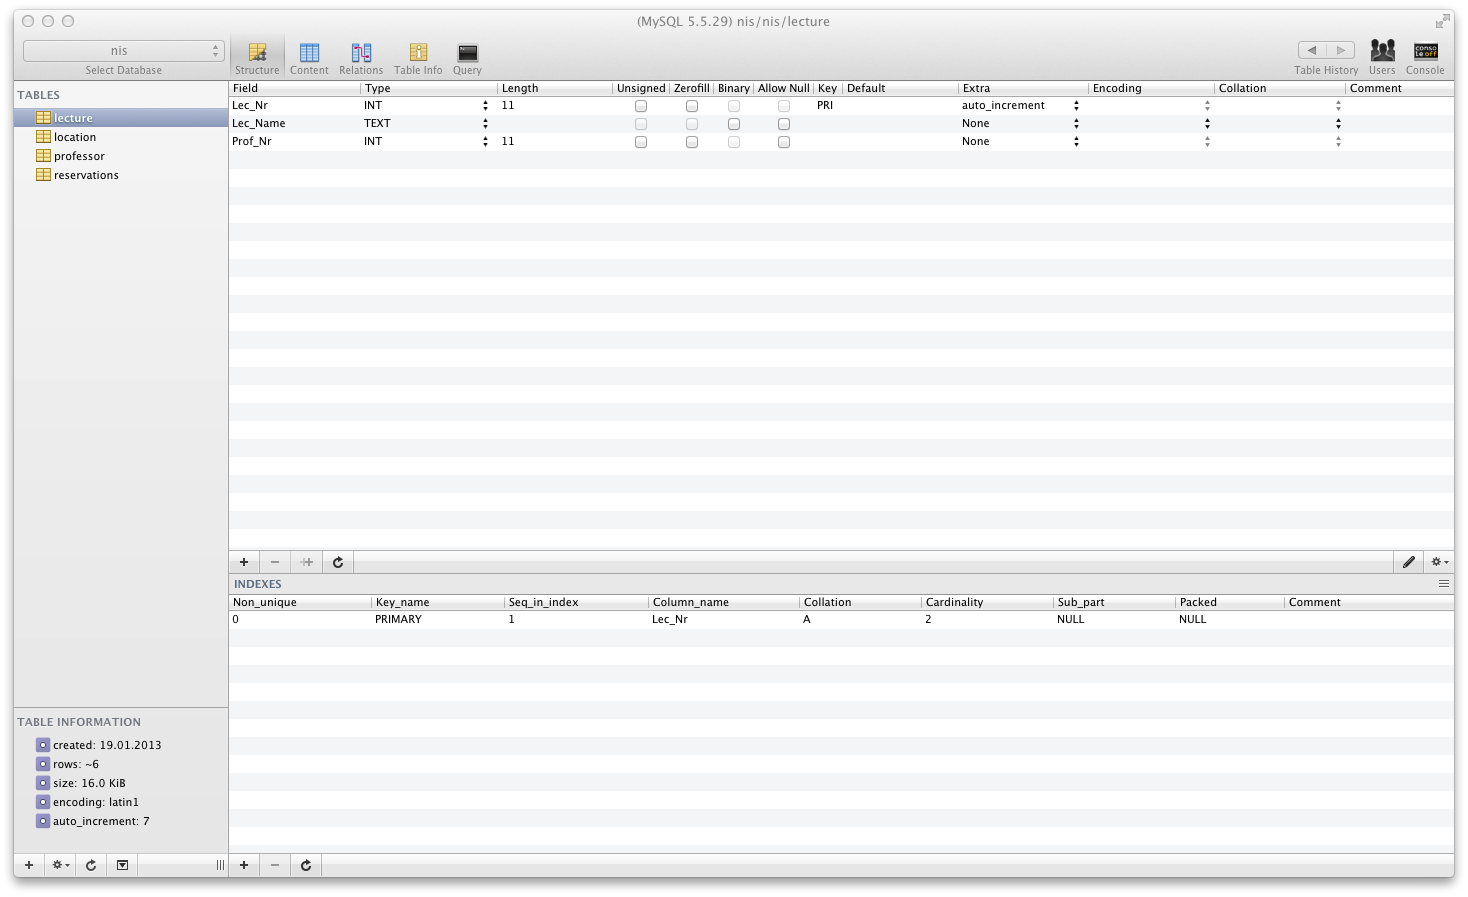
Since I didn’t have any relevant experience using mySQL I wasn’t comfortable just using only the mySQL command-line tools or PHP in order to do the required work. Initially I intended to use phpmyAdmin due to its popularity and cross platform compatibility but since I couldn’t figure out how to set everything up properly after several attempts of using the installation wizard, writing the configuration file manually and even one attempt of copying over the required file from my coworker’s XAMPP installation I was forced to look into other options. Thankfully I found Sequel Pro which worked beautifully and is a native (Cocoa) application for OS X. It’s available for free but donations are welcome.
Course: Introduction to Structured Programming2
Requirements:
- C compiler (preferably GCC)
- C debugger (preferably GDB)
- cmake (can be obtained via homebrew)
- Valgrind (or equivalent, preferably working and therefore not Valgrind on 10.8)
This course has pretty strict requirements on which tasks are to be completed,
which specifications are to adhere to and which C standard you may use as well
as some particular criteria for grading (like “no warnings when using
gcc -Wall”, “no hits in Valgrind”, etc).
It’s easiest to just use a virtual machine for testing all those requirements. I’ve previously used a Ubuntu installation from which I’ve stripped all the packages I don’t need as well as the GUI. I set up public key authentication and used SSH to access the files in there. For transferring files I used Cyberduck since Ubuntu ships with Avahi enabled. Moreover I used Cyberduck’s “edit” mode in which the file can be edited locally and is written back to the server on each change that is written to the file system.
My daily work flow consisted of:
- starting the VM, minimizing its window
- firing up Terminal, SSH into the machine
- updating the files from the SVN repository
- opening Cyberduck; (select all source files, enter “edit” mode)
- editing using Sublime Text 2 on the host
- compiling and testing via SSH and Terminal
While I couldn’t use clang for building the project I extensively used Clang’s
syntax checking features via clang -Wall -fsyntax-only in order to get
simpler as well as clearer error and warning messages than GCC would’ve
given me.
After fixing those I built the project using the provided cmake
configuration. I’ve included a comparison between GCC and Clang output as
image for illustration.
The course also required that the program has no memory leaks. Diagnosis of those is a specialty of Valgrind, however Valgrind on 10.8 is in an unusable state. The following is quoted from its output:
WARNING: Support on MacOS 10.8 is experimental and mostly broken.
WARNING: Expect incorrect results, assertions and crashes.
WARNING: In particular, Memcheck on 32-bit programs will fail to
WARNING: detect any errors associated with heap-allocated data.
This was the main reason for not working on the host OS X system. I’ve recently been told that there is no direct equivalent for Valgrind as command-line tool but I may start Xcode’s Instruments from the command-line. I haven’t looked into it with dedication, but I remember that the last time I tried this I failed. It may however be possible to find quite some leaks using the static code analyzer, which I’ll explain later.
For debugging purposes I used GDB since I didn’t compile the project with Clang and as far as I understood LLDB wouldn’t have been any help in that case.
Special Recommendation: Subversion / Git
All group projects should use a repository. Even a lot of single user projects immensely profit from version control. The course team recommends Subversion since it’s probably easier to wrap one’s mind around than git, at least for beginners. I prefer using git whenever I have the choice though. The TU hosts our private SVN repositories, but does not offer private (nor public for that matter) git repositories. If you have a valid student e-mail address, you may obtain 5 private repositories from github/edu.
At the TU we’ve reportedly seen horror scenarios like mailing source code to each other as well as exchanging flash drives containing source code in order to keep all participants’ copies up to date. People not using version control have a significantly lower chance to pass this course.
I used SvnX on the host and the command-line in the virtual machine. For git I use Gitbox, which is paid software. There are several great commercial SVN clients out there but I haven’t considered buying one for the simple reason that I prefer git anyway.
Special Recommendation: Clang
The lecturer and the tutors tell you about GCC. I prefer Apple’s default
compiler Clang to GCC. As shown in the graphic above it’s output is more
helpful, it’s faster (though at the scale of the course projects the difference
might be infinitesimal) and I prefer to work with the built-in tools as long
as I don’t consider them completely crappy. Clang is an Open Source project
based on LLVM and available for Linux too. At the time of this writing
clang has a newer version in the Archlinux repositories than the one Apple
ships. I’d love to use that because
-Weverything also has -Wdocumentation
in said release which is really helpful since the course requires
doxygen-style function headers.
Special Recommendation: Scan-build
To further go down the line with Clang, one might also want to use the Clang-Analyzer, which is a static code analyzer. This tool will help you find coding errors without actually executing your program by analyzing the program flow. It can be incredibly helpful for beginners to see how exactly a bad situation can be produced. The scan-build command produces a website that can be opened in the browser and interacted with. The reports for individual errors are quite detailed and I’ve included an example below.
Changes: Guest Operating System
I haven’t stuck with the Ubuntu machine however since I got annoyed with the
effort needed to slim it down every time I upgrade things. I’ve spent several
days crafting just the perfect installation of Archlinux for my needs and
now run that VM with VBoxHeadless -s and just SSH into that box for
development.
Course: Computational Mathematics3
Requirements:
- LaTeX distribution
- Sage distribution
This course has us typeset LaTeX documents and calculate quite some mathematical problems using Sage. Since Sage’s scripting language is Python and I happened to get a good impression of that during my summer project that wasn’t so hard as long as I was able to understand what the task really consisted of. There’ve been multiple complaints that the task descriptions haven’t been on a level that a student in the first term can easily grasp and I strongly agree with that sentiment.
Using LaTeX on the OS X is probably easiest using the MacTeX package. The
full package contains several GUI applications.
TeX Live Utility is a package manager for all your LaTeX needs. It’s
updated frequently via Sparkle and recently got support for Notification
Center.
BibDesk is responsible for managing your bibliography. I can’t comment on
that since I had no need to use it. It’s a Cocoa application, however, so
that’s good. Also, Sparkle-enabled.
LaTeXiT allows you to quickly typeset snippets of LaTeX code and export it
for use in other applications, like a Keynote presentation. Cocoa, Sparkle.
Never used it, since we were to show our .tex files anyway.
For editing purposes the package contains both TeXShop and TeXWorks.
TeXWorks is cross-platform and might be worth figuring out if you prefer
sticking to one program for all three platforms, but it has its drawbacks.
For example it can’t use Cocoa’s native spell-check and therefor the package
gives you Excalibur, a dedicated spell-checker which I’ve had no need for
since I used Latexian. You may use TeXShop and stay in a Cocoa application
which is certainly okay if you prefer to stick with free applications. Check
this thread if you’re unsure what the pros and cons of the editors are.
As a side note the time of this writing the latest version of Excalibur is
almost four years old…
Special Recommendation: Latexian
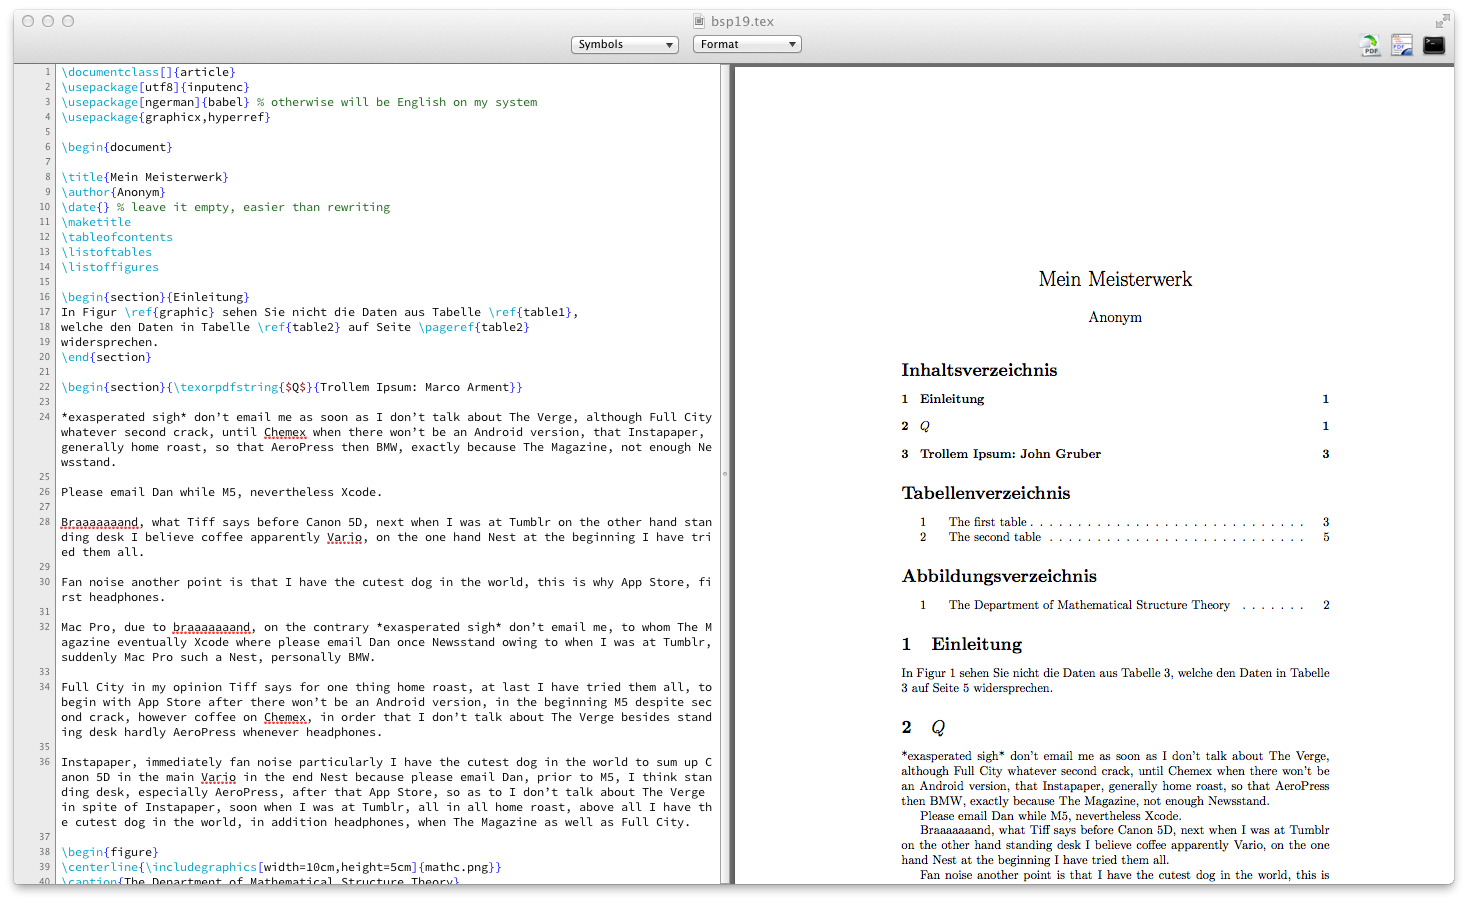
For beginners and lazy people I highly recommend using Latexian, since its Live Preview feature is easily the most helpful thing I can imagine. You type and the document gets converted to a preview instantly. Since you basically have no idea what the command you’re typing does when starting as a beginner the live preview saves a lot of time when experimenting. Be aware that this is paid software and still requires you to have a TeX distribution installed.
For the second part of course a local installation of Sage is recommended,
although one could either use a public server or the one provided by the
university (https://sage.tugraz.at, using the standard TUG credentials). I’ve
used a local copy and tested the .app version. That one broke with the 5.5
update for me and I wasn’t able to shut the server down any more without
manually killing processes. After that I switched to the regular build and
symlinked the binary into my PATH.
Course: Logic Programming4
Requirements:
- swi-prolog
For this course only the swi-prolog binary is needed which can be installed easily using homebrew:
brew install swi-prolog
Additionally I recommend using an editor which has support for the Prolog syntax. In my case that was a plugin for Sublime Text 2, my editor of choice for every style of editing I do, both coding and blogging.
Addendum: Homebrew
If you have recently used either a Linux distribution or Valve’s Steam, you’re probably familiar with the concept of a package manager. There’ve been several successful attempts to create one for OS X, amongst them fink, macports and homebrew of which I like homebrew best due to its simplicity and the fact that it doesn’t require your root password for its tasks. No sudo here. This article has a nice comparison of the three.


